+http://howtofilmschool.com/25-grip-lighting-terms-that-sound-sexual-what-they-really-mean/

A couple of weeks ago Evan Luzi of the Black and Blue wrote a fantastic post entitled 25 Filmmaking Terms that Sound Like Sex Acts (and What They Actually Mean), I thoroughly enjoyed the post and even added “ubangi” to the comments section of his site. Definitely give it a read, and check out some of his other posts, he is doing great stuff.
That post made me realize that there are hundreds of sexual sounding terms we use every day on set and many of them just so happen to belong to grip & lighting! Although these are mostly terms we use In Canada, I’ll give it a shot…
2. Lollypop – This piece of grip gear allows you to add a heavy duty, larger puck + 2k hole to any 2k stand. Great for when you’re putting grip arms on 2k stands or even for butterfly frames.
3. Rimmer – A “rimmer” or “rim light” is back light used to separate the subject from the background.
4. Whip – This is another term for an extension cord or cable run. “Run a whip out to me, please”
5. U-bangi – This is used to off set a camera from a dolly. The term “u-bangi” refers to the lip ornament used by the Sara tribe of Africa. Not the most politically correct term, lets try to call it an offset from now on.
6. Spoon – We all know the saying “Spooning leads to forking”, well this type of spoon leads to a lower camera position. The spoon (A.K.A. Enterprise) allows you to get the camera just that little bit lower when on a dolly in low mode.
7. Jelly Roll – The Canadian term for a rolled up sound blanket (A.K.A. Sound Blanket Burrito) Learn how to roll up your own.
8. Head Cable (A.K.A. Header) – This is the cable that allows you to attach HMI’s or KinoFlos to their ballast.
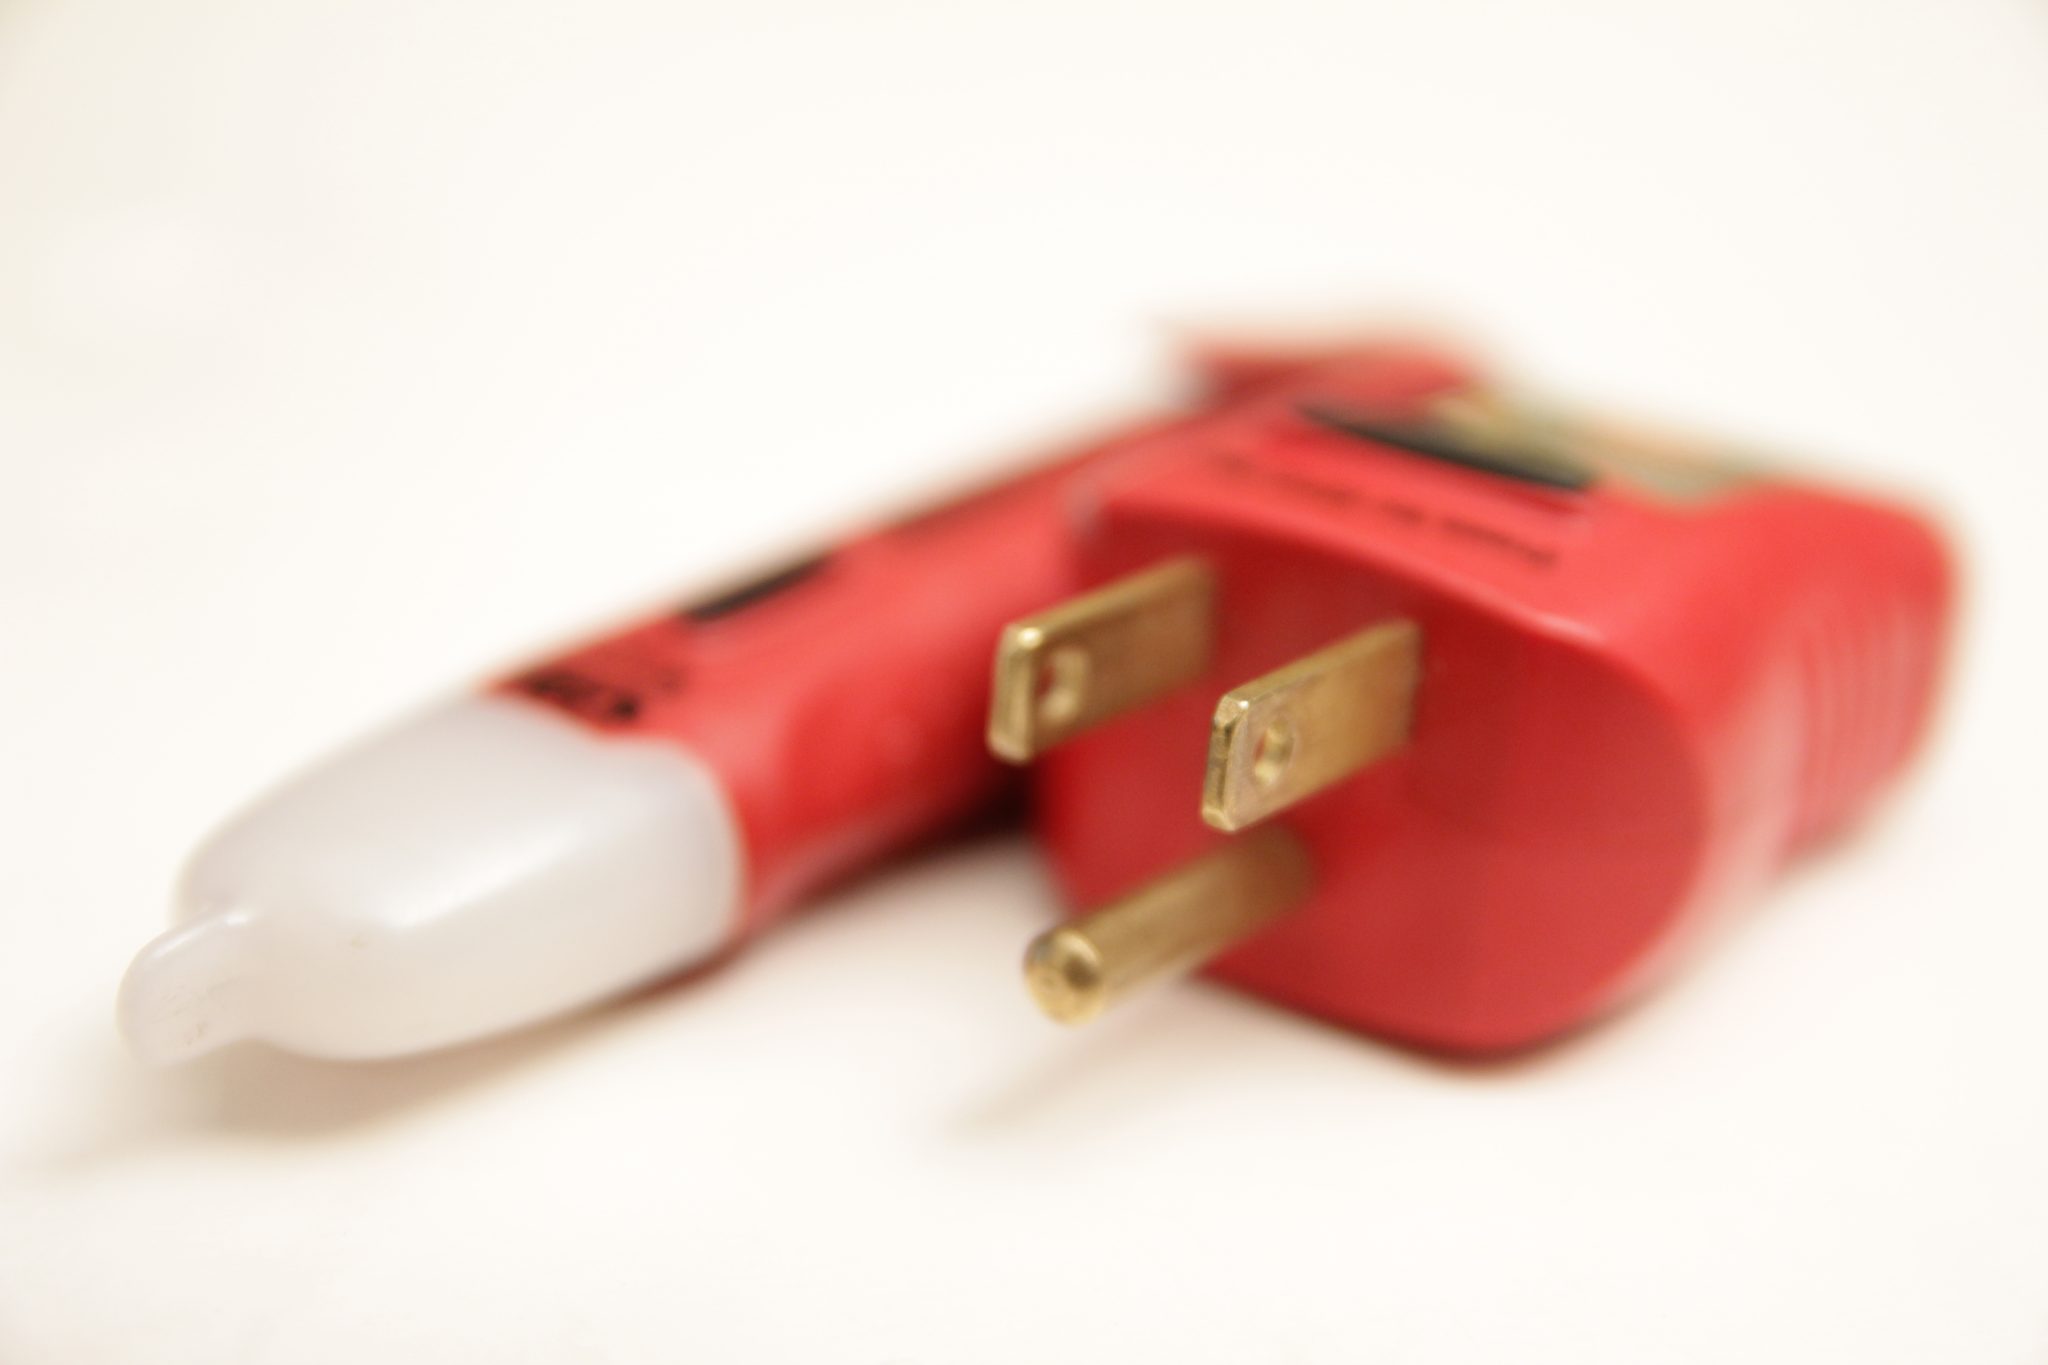
9. F**k the Truck – This term is used to remind the electrics that the male end always runs toward the power source. Anyone that has ever run 500 feet of sea-way backwards knows how important having such a term in the back of your mind is.
10. Pads, Wedges & Pancakes - Used to level dolly track. It never quite sat right with me when the Key Grip asked me to spread around some pads and wedges for him.
11. Fill it in – Usually called out by the Key Grip or Dolly Grip once they are done leveling and want someone to fill in the empty spaces.
12. S**t Coil – Sounds like something that could be done in some weird German film, this term is often used for a poorly wrapped piece of cable. “Who made all the s**t coils?”
13. Ball Buster – Another term for a poorly wrapped piece of cable. This one refers to sea-way when it hasn’t been wrapped the correct size causing too much of one end to be left hanging lose. When picked up the lose end can easily hit you in the…balls…I’ve also heard this term used for heavier, 35lb sandbags.
14. Open Holes - This refers to live, open holes in seaway or power towers. Open holes are dangerous and hearing “No open holes!” over the walkie talkie is nothing new. Jason Winget adds the phrase “Get your fingers out of the holes!”
15. Horse C**k - A slang term for thick cable, like 2OT or 4OT. No one wants to run cable at 6am, especially not horse c**k.
16. Pig Tail – A Short piece of cable with a U-Ground on one end and a bulb socket on the other. Usually used with china balls or for getting light bulbs in odd places.
17. Mombo Combo – The official name for a very large collapsible stand. Mombo Combos are extremely useful, but often times a bit of a head ache to deal with. Almost sounds like a weird courtship dance you would do with a partner.
18. Best Boy Grip – “Best Boy” in general sounds a little gross, but there is something about “best boy grip” that just doesn’t sit right.
19. Undersling – This grip & lighting term basically refers to using a stand or piece of gear in an out of the ordinary way, like setting grip arms upside down.
20. Low Mode – Another dolly term, this means using a dolly in its lowest configuration. I do beleive there are other situations where you can use the term. Feel free to share in the comments.
21. Drop the Skirt – A “skirt” refers to when you use duvetyne to control sources like china balls. The light actually ends up looking like it is wearing a skirt. A skirt can also just be duvetyne hung horizontally across a set to keep light off of one of the walls.
22. Top Stick – This term refers to when you have reached the maximum height of your stand. So, the next time a spark calls out “That’s the top of my stick” try not to giggle.
23. Hand Squeezer – A dimmer.
24. Beaver Board – This is an American term for a 750 base plate (A.K.A. Baby nail on plate / Baby pin) drilled into a pad / pancake.
26. Juice is lose – This is what is often announced over the radio when the BB or electrician turns the generator online. Added by Jason Winget
27. Hot Box – Hot box is how we refer to any distribution box that is energized.. And it can get naughty… “Thats a hot box, stick it in there”. Added by Jason Winget.
Well, what do you think? Are some of these wrong or do you think you can come up with a better definition?
Do you have a couple of gross sounding terms up your sleeve? Do you work with a crew that coins your own terms? Please share in the comments section below!
A couple of weeks ago Evan Luzi of the Black and Blue wrote a fantastic post entitled 25 Filmmaking Terms that Sound Like Sex Acts (and What They Actually Mean), I thoroughly enjoyed the post and even added “ubangi” to the comments section of his site. Definitely give it a read, and check out some of his other posts, he is doing great stuff.
That post made me realize that there are hundreds of sexual sounding terms we use every day on set and many of them just so happen to belong to grip & lighting! Although these are mostly terms we use In Canada, I’ll give it a shot…
Here are 25 Grip & Lighting Terms that Sound Sexual & What They Really Mean
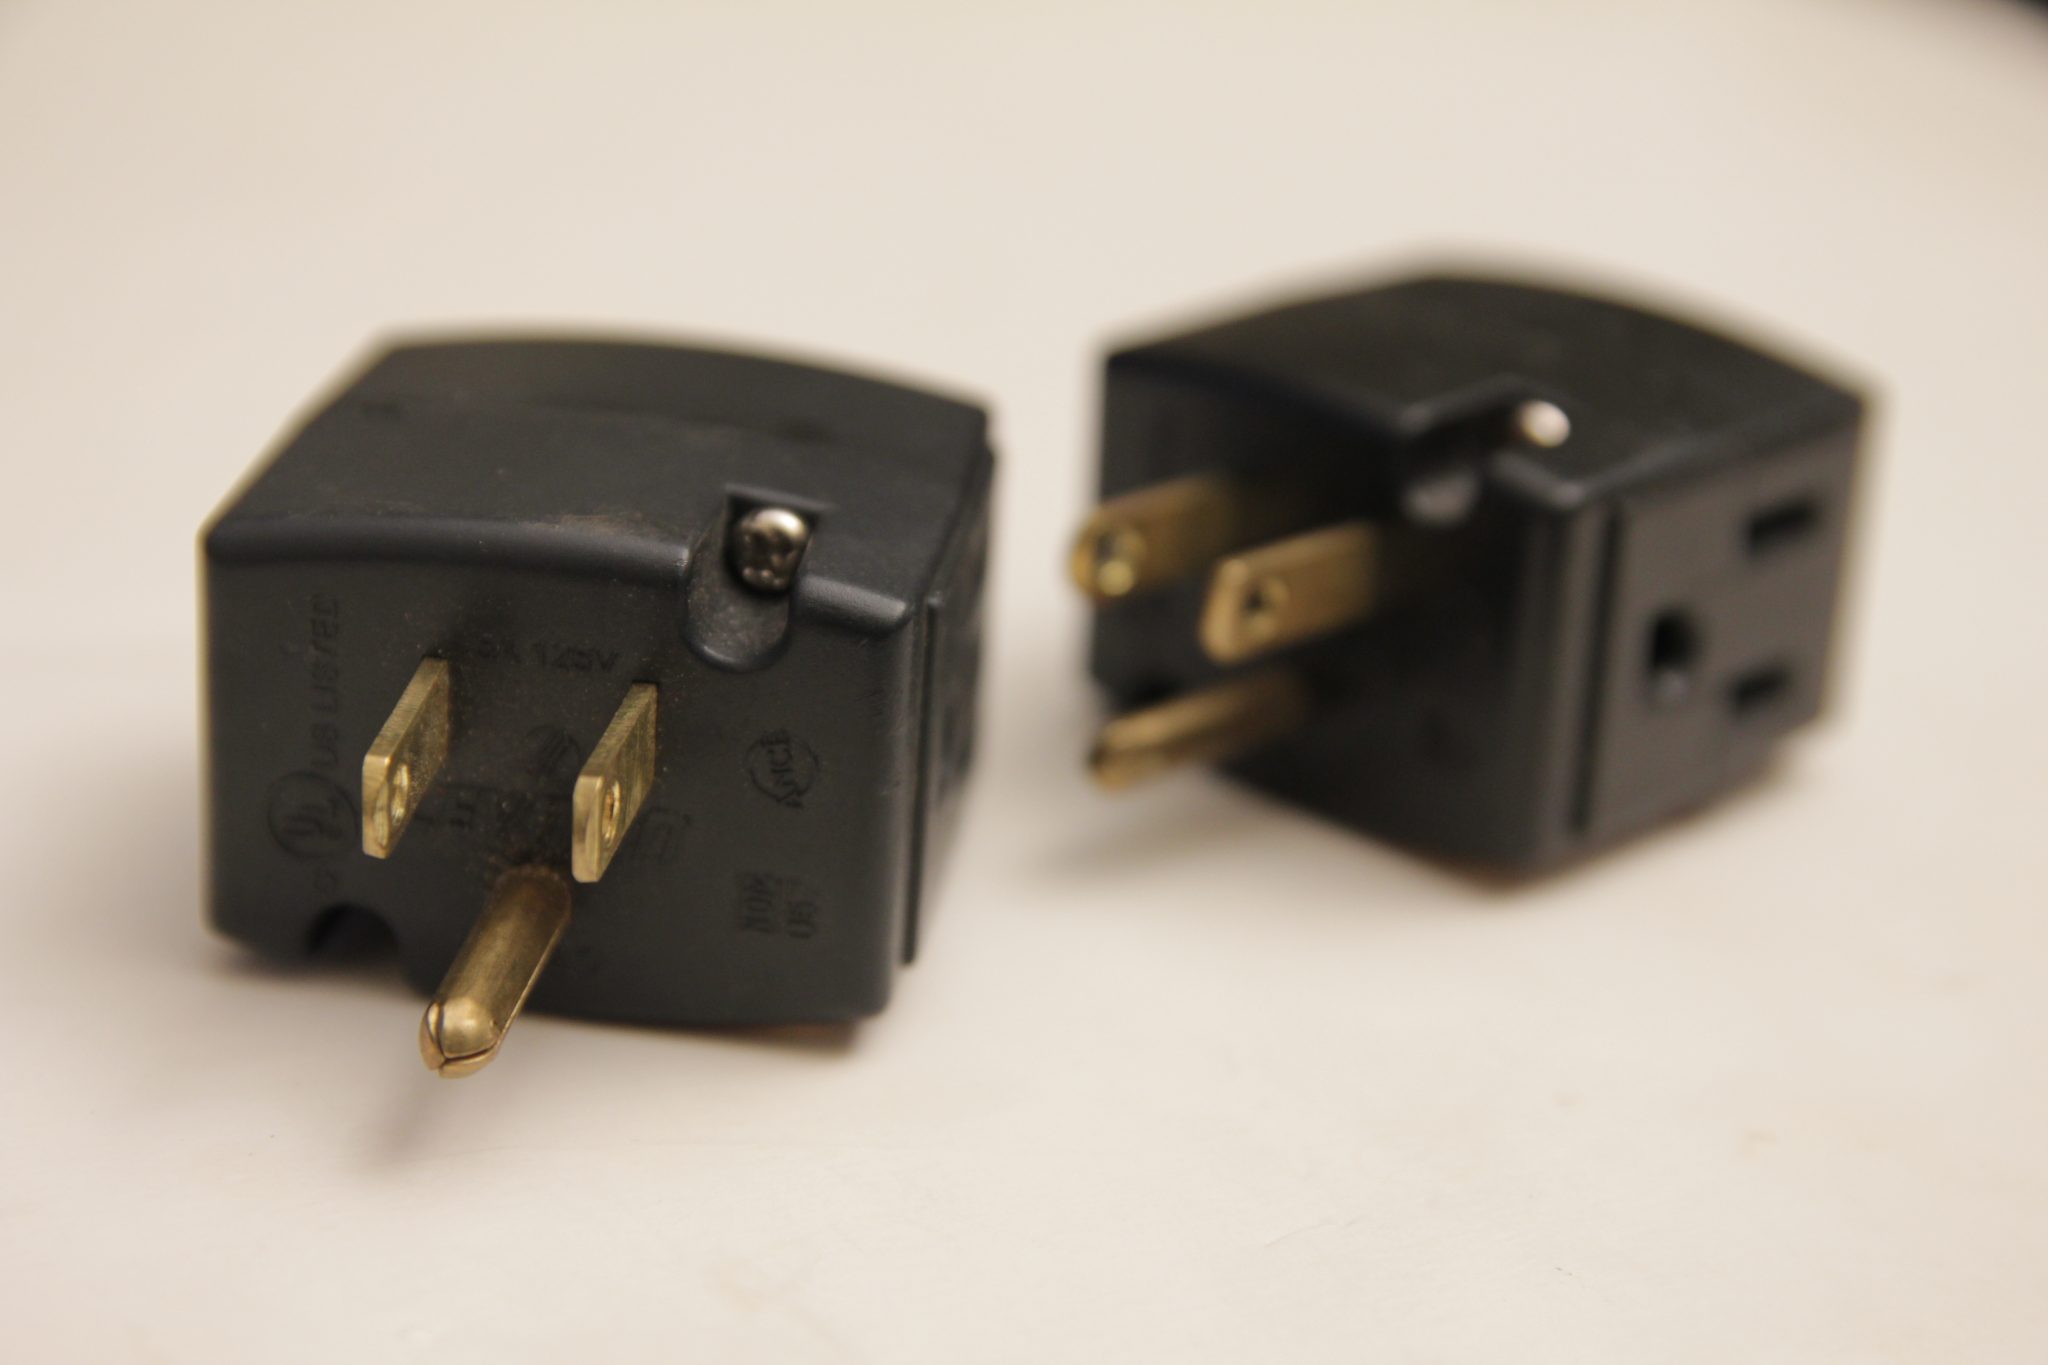
1. Butt plug – This is a 2k to 750 adapter. Not all stands have the combo ability, so a butt plug is used to “plug” the 2k hole of a stand and make it a 750 spigot. Why would you use this? Well, sometimes you just need a much beefier stand for a small fixture, like when it needs to go really high and no other stand will cut it.2. Lollypop – This piece of grip gear allows you to add a heavy duty, larger puck + 2k hole to any 2k stand. Great for when you’re putting grip arms on 2k stands or even for butterfly frames.
3. Rimmer – A “rimmer” or “rim light” is back light used to separate the subject from the background.
4. Whip – This is another term for an extension cord or cable run. “Run a whip out to me, please”
5. U-bangi – This is used to off set a camera from a dolly. The term “u-bangi” refers to the lip ornament used by the Sara tribe of Africa. Not the most politically correct term, lets try to call it an offset from now on.
6. Spoon – We all know the saying “Spooning leads to forking”, well this type of spoon leads to a lower camera position. The spoon (A.K.A. Enterprise) allows you to get the camera just that little bit lower when on a dolly in low mode.
7. Jelly Roll – The Canadian term for a rolled up sound blanket (A.K.A. Sound Blanket Burrito) Learn how to roll up your own.
8. Head Cable (A.K.A. Header) – This is the cable that allows you to attach HMI’s or KinoFlos to their ballast.
9. F**k the Truck – This term is used to remind the electrics that the male end always runs toward the power source. Anyone that has ever run 500 feet of sea-way backwards knows how important having such a term in the back of your mind is.
10. Pads, Wedges & Pancakes - Used to level dolly track. It never quite sat right with me when the Key Grip asked me to spread around some pads and wedges for him.
11. Fill it in – Usually called out by the Key Grip or Dolly Grip once they are done leveling and want someone to fill in the empty spaces.
12. S**t Coil – Sounds like something that could be done in some weird German film, this term is often used for a poorly wrapped piece of cable. “Who made all the s**t coils?”
13. Ball Buster – Another term for a poorly wrapped piece of cable. This one refers to sea-way when it hasn’t been wrapped the correct size causing too much of one end to be left hanging lose. When picked up the lose end can easily hit you in the…balls…I’ve also heard this term used for heavier, 35lb sandbags.
14. Open Holes - This refers to live, open holes in seaway or power towers. Open holes are dangerous and hearing “No open holes!” over the walkie talkie is nothing new. Jason Winget adds the phrase “Get your fingers out of the holes!”
15. Horse C**k - A slang term for thick cable, like 2OT or 4OT. No one wants to run cable at 6am, especially not horse c**k.
16. Pig Tail – A Short piece of cable with a U-Ground on one end and a bulb socket on the other. Usually used with china balls or for getting light bulbs in odd places.
17. Mombo Combo – The official name for a very large collapsible stand. Mombo Combos are extremely useful, but often times a bit of a head ache to deal with. Almost sounds like a weird courtship dance you would do with a partner.
18. Best Boy Grip – “Best Boy” in general sounds a little gross, but there is something about “best boy grip” that just doesn’t sit right.
19. Undersling – This grip & lighting term basically refers to using a stand or piece of gear in an out of the ordinary way, like setting grip arms upside down.
20. Low Mode – Another dolly term, this means using a dolly in its lowest configuration. I do beleive there are other situations where you can use the term. Feel free to share in the comments.
21. Drop the Skirt – A “skirt” refers to when you use duvetyne to control sources like china balls. The light actually ends up looking like it is wearing a skirt. A skirt can also just be duvetyne hung horizontally across a set to keep light off of one of the walls.
22. Top Stick – This term refers to when you have reached the maximum height of your stand. So, the next time a spark calls out “That’s the top of my stick” try not to giggle.
23. Hand Squeezer – A dimmer.
24. Beaver Board – This is an American term for a 750 base plate (A.K.A. Baby nail on plate / Baby pin) drilled into a pad / pancake.
Added by our Readers
25. DP – Not exactly grip and lighting, but I think this one should definitely be on the list. We all know “DP” stands for “Director of Photography”, but how many times have you had a non film friend snicker when they hear you say “I DP’d that” – This one comes from local Toronto Director / Cinematographer Cabot McNenly. Have a look at his very beautiful reel HERE.26. Juice is lose – This is what is often announced over the radio when the BB or electrician turns the generator online. Added by Jason Winget
27. Hot Box – Hot box is how we refer to any distribution box that is energized.. And it can get naughty… “Thats a hot box, stick it in there”. Added by Jason Winget.
Well, what do you think? Are some of these wrong or do you think you can come up with a better definition?
Do you have a couple of gross sounding terms up your sleeve? Do you work with a crew that coins your own terms? Please share in the comments section below!